7 Easy Steps to Braid Your Own Hair Like a Pro
Introduction
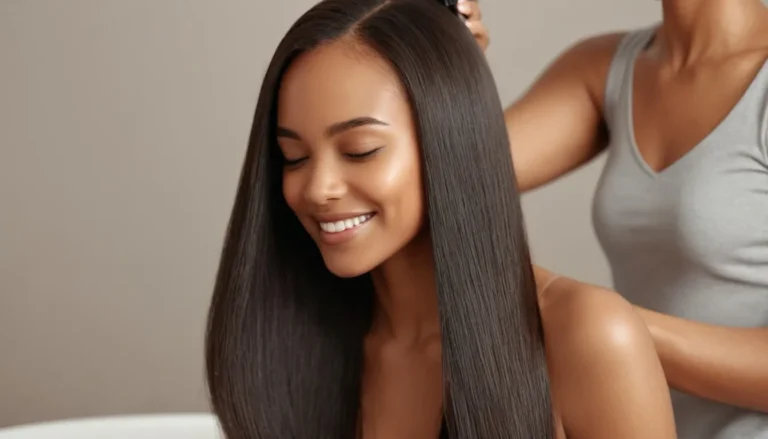
Ever stared at a stunning braided hairstyle and wondered, “How do you braid your own hair without a salon trip?” You’re not alone! Braiding might seem tricky at first, but with a little practice (and our foolproof guide), you’ll master everything from basic plaits to Instagram-worthy French braids. Whether you’re prepping for a casual day out or a special event, we’ve got you covered. Let’s turn those hair struggles into braiding superpowers!
Table of Contents
Why Braiding Your Own Hair is a Game-Changer
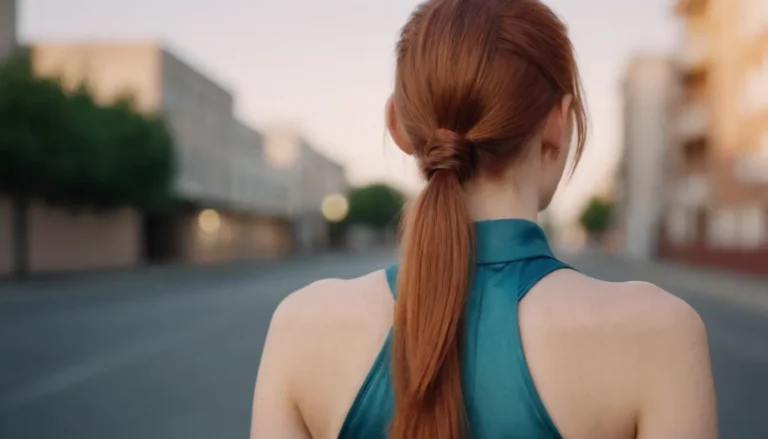
Braids aren’t just pretty—they’re practical! They keep hair off your face during workouts, reduce frizz on humid days, and even protect your strands from damage. Plus, DIY braiding saves time and money. No more begging friends for help or booking last-minute appointments. Ready to learn? Let’s start with the basics.
What You’ll Need to Get Started
Before diving into braids, gather these tools:
- A fine-tooth comb
- Hair ties (clear or matching your hair color)
- Hair clips to section strands
- Light-hold hairspray or texturizing spray
- Optional: Bobby pins, hair wax, or tiny elastics for intricate styles
7 Simple Steps to Braid Your Own Hair Perfectly
Follow these steps to nail your first braid:
Step 1: Prep Your Hair
Start with brushed, tangle-free hair. Slightly damp or day-old hair holds better. Spritz texturizing spray if your hair is slippery.
Step 2: Section Your Hair
Use a comb to split hair into three even sections. Pro tip: Clip two sections aside to avoid mix-ups.
Step 3: Cross Right Over Middle
Hold the right section, cross it over the middle, and let it become the new middle strand.
Step 4: Cross Left Over Middle
Repeat with the left section, crossing it over the (now updated) middle strand.
Step 5: Keep Tension Consistent
Pull gently as you go—too tight = headaches, too loose = messy braid.
Step 6: Secure the End
Once you reach the ends, tie it off with a hair tie.
Step 7: Loosen for Volume
Gently tug the braid’s edges to create a fuller, softer look.
4 Braiding Techniques Every Woman Should Try
Once you’ve mastered the basics, experiment with these styles:
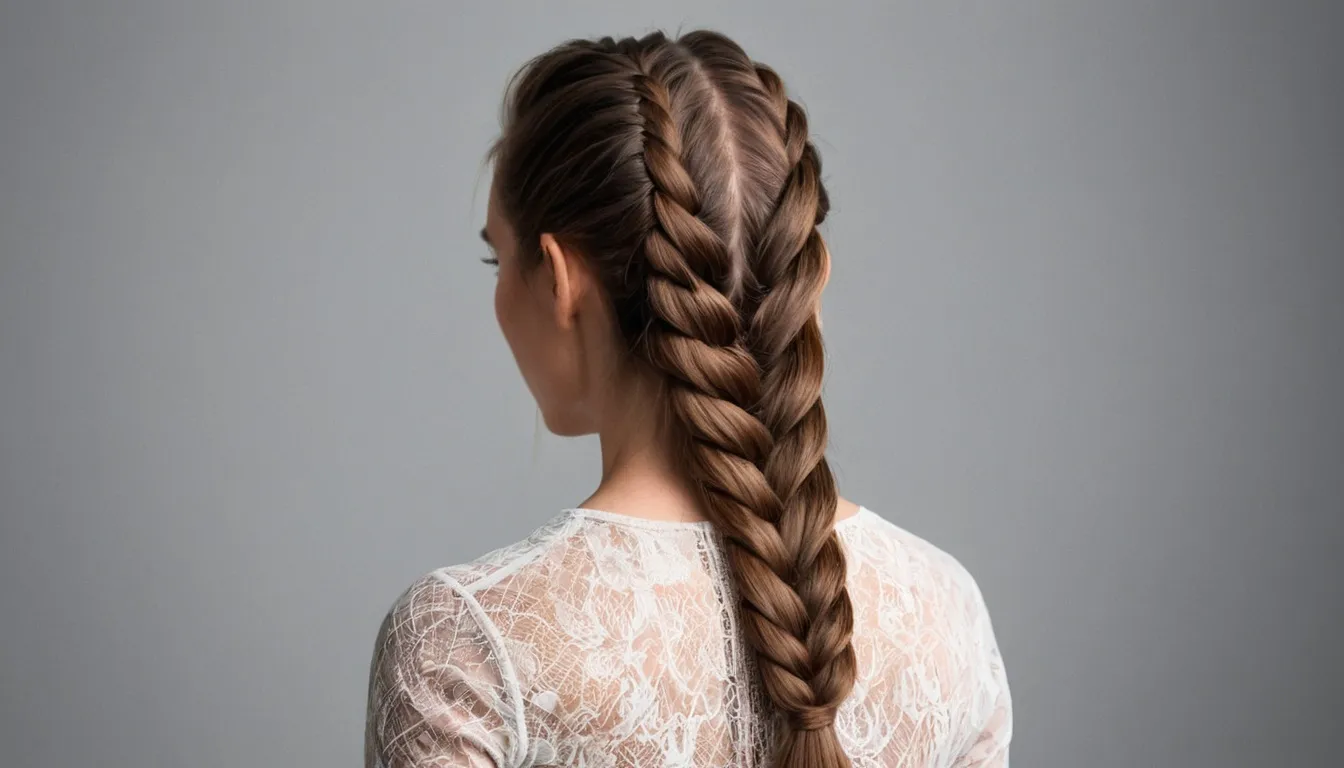
1. How to French Braid for a Chic Look
French braids start at the crown and add strands as you go. Perfect for workouts or elegant updos!
2. The Messy Fishtail Braid
Split hair into two sections, then alternate tiny pieces from the outer edges into the opposite side. Boho vibes guaranteed.
3. Dutch Braid (Inside-Out French Braid)
Cross strands under instead of over for a bold, 3D effect.
4. Rope Braid for Thin Hair
Twist two sections around each other—ideal for fine hair that slips out of traditional braids.
Braiding Hacks for Different Hair Types
Not all hair is the same! Adjust your technique:
- Curly Hair: Braid while damp to lock in definition.
- Straight Hair: Add texture with dry shampoo.
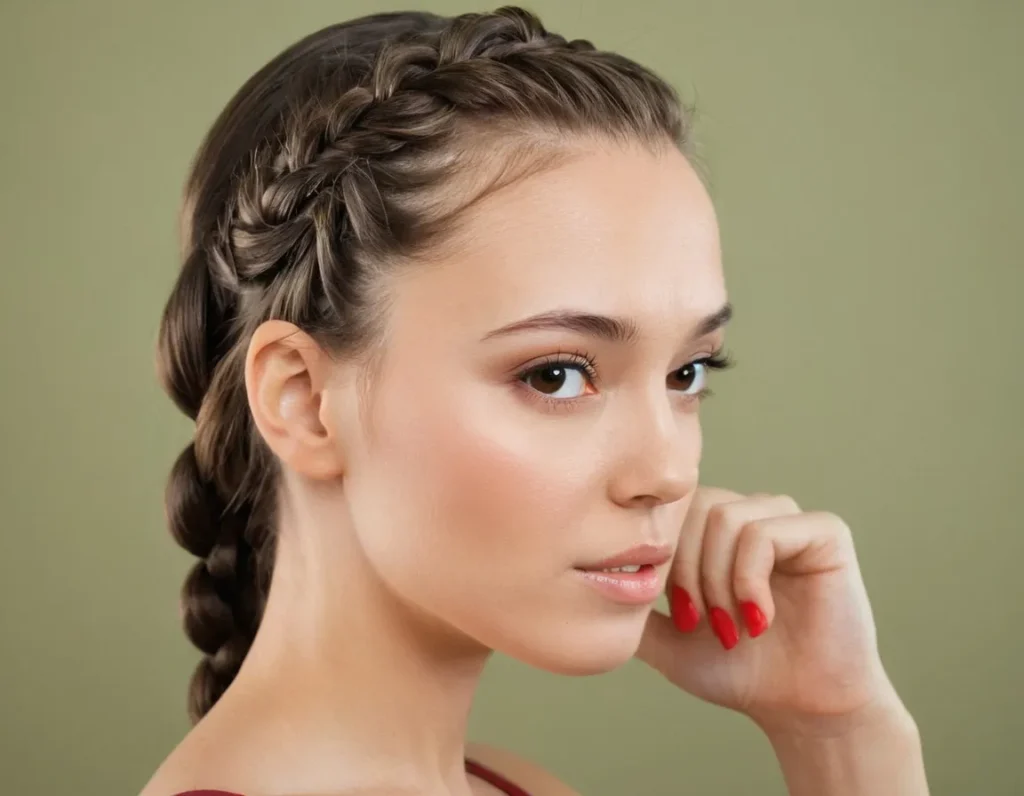
- Short Hair: Focus on mini braids near the face.
- Thick Hair: Use stronger elastics and divide into smaller sections.
Common Braiding Mistakes (And How to Fix Them)
- Slippery Hair: Use texturizing spray or braid on day-old hair.
- Uneven Sections: Comb slowly and use clips.
- Frizzy Ends: Apply a dab of hair wax before braiding.
FAQs: Your Braiding Questions, Answered
Q: How do you braid your own hair if it’s super short?
A: Try a mini side braid or twist small sections near your temples.
Q: Can I braid wet hair?
A: Yes—but gently! Wet hair is fragile, so avoid tight styles.
Q: How do I make my braids last longer?
A: Spritz with lightweight hairspray and sleep on a silk pillowcase.
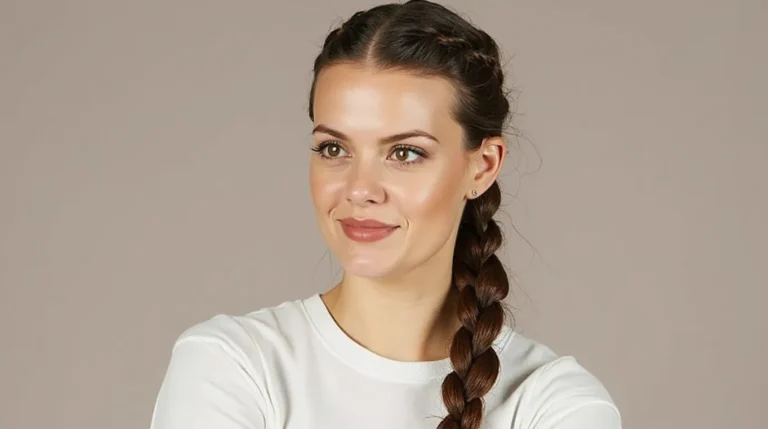
Q: What’s the easiest braid for beginners?
A: Start with a classic three-strand braid or a loose side braid.
Braiding Inspiration: Styles to Try This Week
- Monday: Low messy braid for school drop-offs.
- Wednesday: Sleek Dutch braid for Zoom meetings.
- Friday: Fishtail braid for date night.
- Sunday: Crown braid for brunch with friends.
Conclusion
So, how do you braid your own hair without losing your patience? Practice, play, and embrace the imperfections! With these tips, you’ll go from “braid-astrophe” to braid master in no time. Remember: Even Instagram influencers started with lumpy first attempts. Now grab that comb, try a new style, and show off your DIY skills!